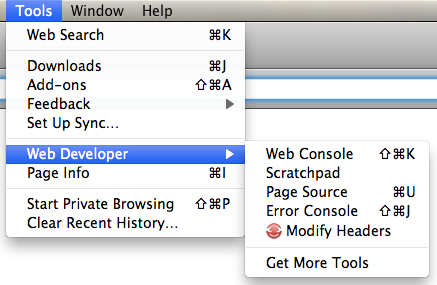
1. Select the Modify Headers option on the Tools menu.

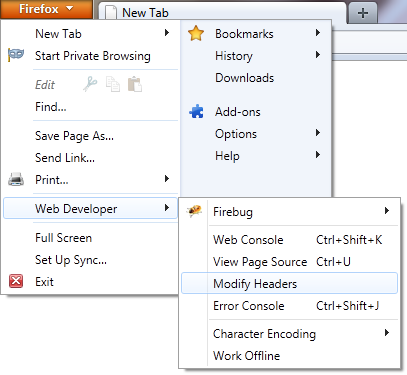
Alternatively, if you are using Firefox 4 on Windows 7/XP, Modify Headers is available under the Application menu:

2. From the left hand drop-down, select "Modify"

3. In the first text box, enter: User-Agent
4. In the second text box, enter: Mozilla/5.0 (iPhone; U; CPU like Mac OS X; en) AppleWebKit/420+ (KHTML, like Gecko) Version/3.0 Mobile/1A543 Safari/419.3
5. In the third text box, enter an optional comment: IPhone User Agent
6. Click the add button.
The new header is added to the list of headers. It is automatically saved to your preferences so that every time you open the Modify Headers dialog it will be available.

Notice that a green circle is displayed on the right. This indicates that the header is enabled and will be sent with every HTTP request while the Modify Headers dialog is open. To disable the header, highlight the line of that header and click the Enable/Disable button.
Alternatively for convenience, double click on a line and it will toggle the status. A red circle indicates the header is disabled.
7. Click the Modify Headers icon to start.
Click the icon in the top right of the window to start Modify Headers. The will turn from grey to red to indicate Modify Headers is running.

Alternatively, use the quick menu from the addon toolbar:


